This is called “Liliana’s Rainbow Cake” because it’s the one I made on Masterchef. It has become my most asked for recipe, which is bizarre as it is the dish that sent me home. I made this in 2 hours (hence it didn’t work out for me) but for this cake to turn out perfectly it needs a lot more time.
After cooking, the cakes need to be completely cool before icing. Assemble the cake and then give it a ‘rough ice’ to cover it and get it all together. At this point I like to give it an hour at least in the fridge to set it and make sure it is stable. Then you have a clean edge to apply the final layer of buttercream and the cake will look really professional.
I’ve stipulated 2 batches of buttercream. Make this in two lots (don’t just double the quantity and make one big batch). The reason being as you add the icing sugar your mixer will tend to ‘fluff’ it up and your kitchen be covered in fine powder. One batch at a time is easier to manage. You may not need all the buttercream, but there is nothing worse than running out halfway into icing the assembled cake. Any leftovers keep well in the fridge to ice cupcakes another day.
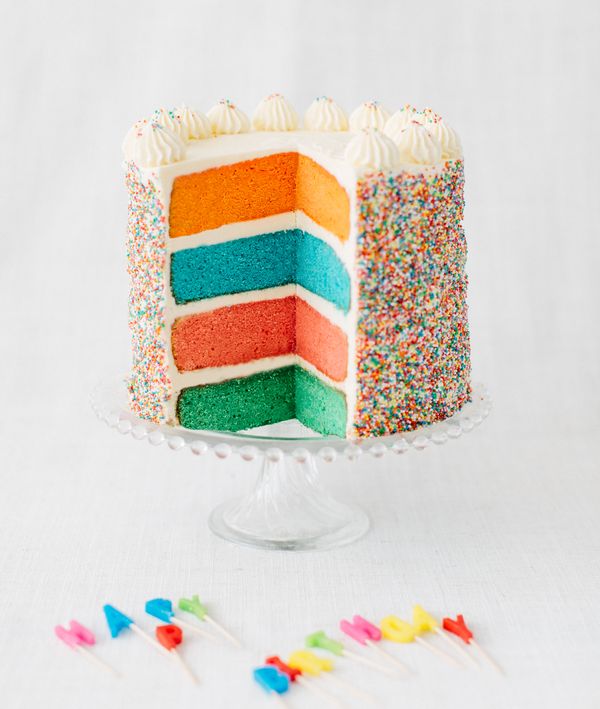
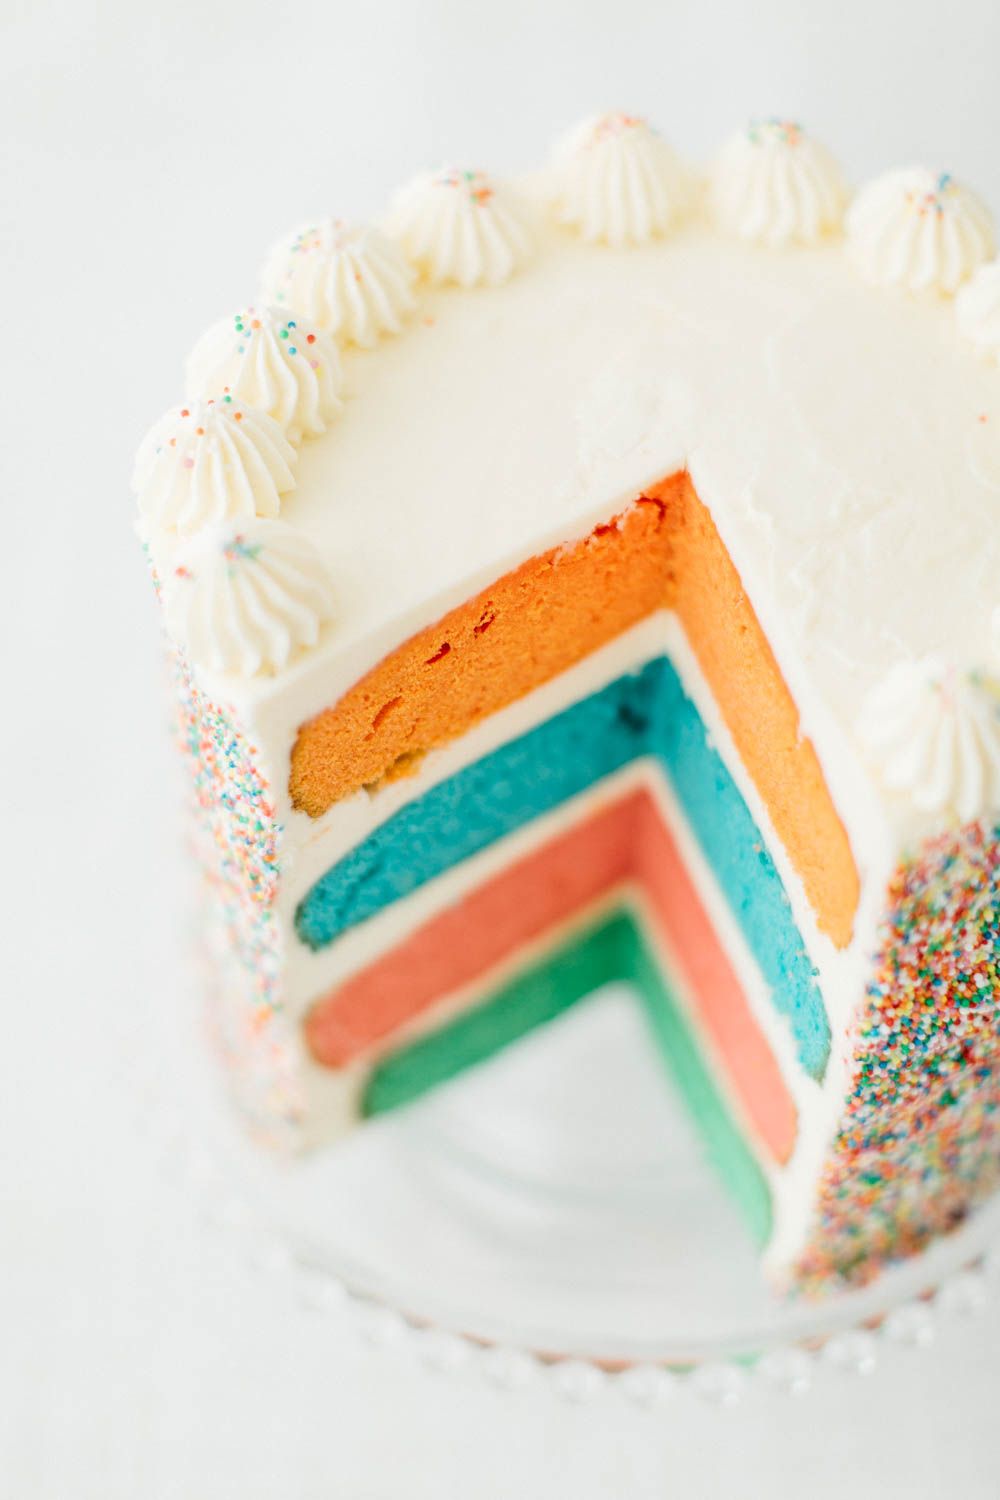
The best part of this cake is the moment of cutting. That first slice that reveals the technicolour cakes is a sight to behold. This is a huge cake, I make no apologies for that. It is a celebration cake, so it needs to be big, wonderful, over the top. It was created for my son’s birthday and has become something very special to us.
Make this for someone you love. It’s a labour of love that is well worth it.
Ingredients
Method
- Preheat oven to 180 degrees celcius (160 fan forced)
- You need to make 4 smaller cakes for this layered cake. You can make 4 times the mix all at once (if your mixer is big enough), then split into 4 portions before you add colouring if you like. However making one cake mix at a time is more manageable.
- Line a 4 x 22cm round cake tins with baking paper. (or you can do lone at a time if you don't have enough tins, but the time process will be long)
- Beat the butter and sugar together with an electric mixer until smooth and creamy.
- Add eggs, 1 at a time, making sure fully incorporated each time.
- Add vanilla and milk. Beat to incorporate. Don’t worry if it appears to look curdled. It will come together once the flour is mixed in.
- Stir in the flour and baking powder, then beat with the mixer again for another 3 -5 minutes or until the mixture is quite smooth.
- Add a few drops of your desired food colour. Mix to thoroughly combine.
- Pour mixture into the cake tins. Smooth the tops. Bake for 50 minutes, or until a skewer comes out clean.
- Allow to cool for 5 minutes, run a knife around the edge to loosen, then turn out onto a wire rack. Allow to cool completely while you make the buttercream.
- You will need two batches of the buttercream recipe (make it twice rather than all at once as it is more manageable).
- Beat the butter with half the icing sugar, all the milk and vanilla with an electric mixer until smooth and creamy (about 4 minutes).
- Gradually add the rest of the icing sugar, a cup at a time, beating 2 minutes before the next addition, until it is all incorporated. The buttercream should be a spreadable consistency and very white.
- Trim the tops of the cakes with a knife so they are flat.
- Put one cake on a cake board. Spread with buttercream.
- Put another cake on top and spread with buttercream, repeat until you have a four-layered cake.
- Completely ice the sides of the cake with a thin layer of buttercream. Use your palette knife to smooth the icing around the sides so it is neat. Let it set for 10 minutes. Then apply a thicker coat of buttercream so it is completely covered.
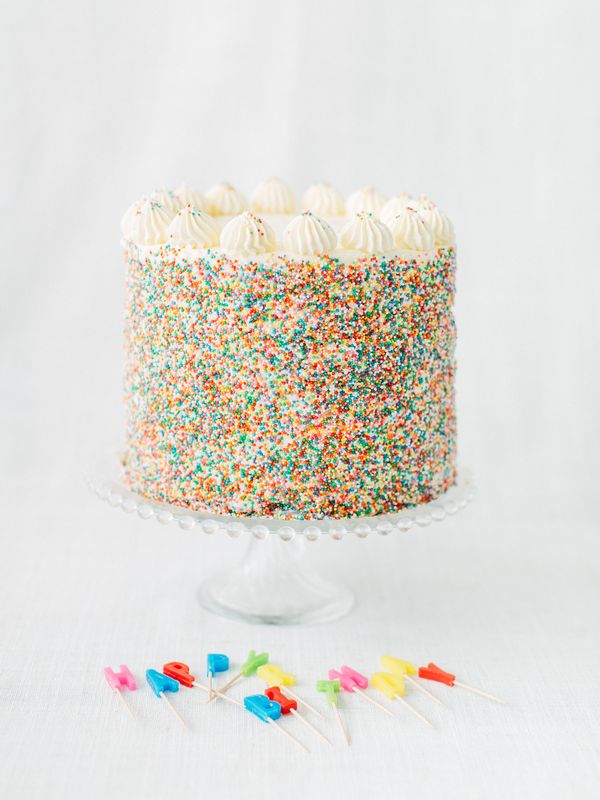
- Transfer the cake into a large deep tray and pour the sprinkles around it. Scoop up handfuls of sprinkles and with a flat hand and stick them all over the sides of the cake, pressing gently until completely covered.
- Transfer cake onto a cake board and spread the buttercream over the top of the cake, saving some for piping.
- Tidy the edges.
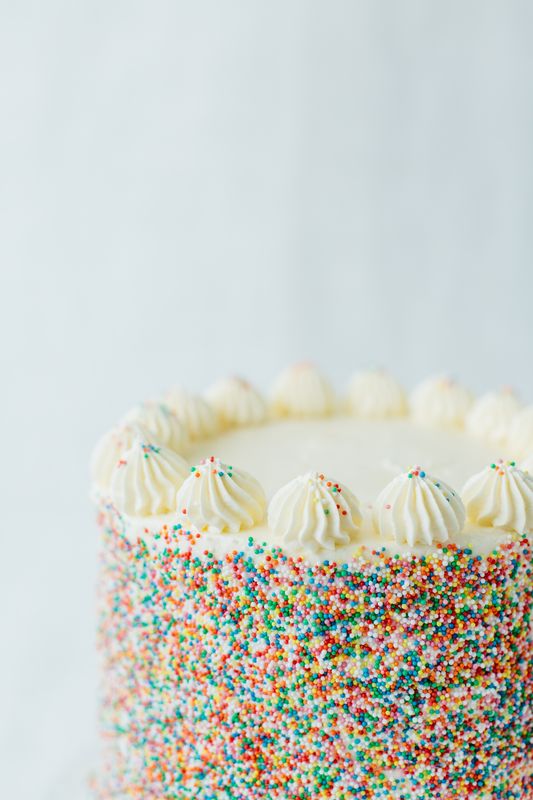
- Place remaining buttercream in a piping bag fitted with a star nozzle. Pipe small rosettes around the top of the cake.
Recipe from my book Easy Home Cooking Italian Style – New Holland Publishers . Images – Jonathan VDK


I think that there are some omissions from the recipe. You do not specify how many tins we should use. Thank you for this cake recipe, I’m trying out as we speak.
Hi Alexia. Thanks for your post. Yes you are right, with the update of my site the recipe did not stipulate how many tins. Thanks for pointing it out, I have now fixed it. Of course you use 4 tins, but I guess you figured that out. Hope it worked out for you x
Hi.. i am a die hard fan of masterchef and you rainbow cake in season 5 really caught my fancy. thanks a lot for sharing this recipe. given that in india we are still trying to improve our standards of western cooking, i might struggle to find some ingredients, but im so glad to find your recipe. i hope i can make it some day. all of you amazing people really inspire ordinary stay-at-home-mums like me to cook ! thanks so much! 🙂
Hi there. Thanks so much for posting! You should be able to find all the ingredients in India – most are very standard. The only thing you may have trouble with are the colours – not sure if they are available in India – but you can order online. I use Americolors, but the Wilton range are great too. Good luck with the cake. If you get time to make it I would love to see a picture. Many thanks again and take care xx
Thank you so much for replying. My main concern is the sprinkles but I will figure something out. Omg. I dont believe im communicating with liliana! U guys are like celebrities for me :-D:-D:-D I will hopefully bake this soon. Will share the result!
Hi – thanks so much for the compliment! You should be able to get some sprinkles where you are, otherwise order online. I live in a fairly remote place and I often need to order my supplies too. Good luck x
I found a rainbow cake at a local bakery 🙂 more inspiration to try it myself! 🙂
https://www.facebook.com/photo.php?fbid=10154189245265416&set=a.10152811576045416.1073741830.644525415&type=1&theater
thats fantastic – thanks for sharing!
This is Amazing, Definitely i am going to make this cake with my mum in my next birthday
thats great Omar – thanks for checking out my website and my recipes. Let me know how it goes!
Hello,
I’m from the Netherlands and ever since i saw your cake on masterchef i wanted to make it. Today was that day
I made it for my little girl. It was her 4th birthday today. I also added popping candy to the sides. Everyone was blown away and my little girl thinks i’m a superhero
HiConnie – it sounds amazing! Can’t wait to see a pic
Thanks so mutch for the insparation.
I wanted to add a picture but that’s not possible.
Grtz Connie
Hi Connie. Thanks for the lovely comment. I’d love to see a pic. You can post one on my facebook page if you like! Here’s the link https://www.facebook.com/LilianaBattleMasterchef. x
to make the cake smaller, would it be possible to cut the amount of ingredients of each layer by half?
yes – you can do that but layers will be much thinner Good luck x