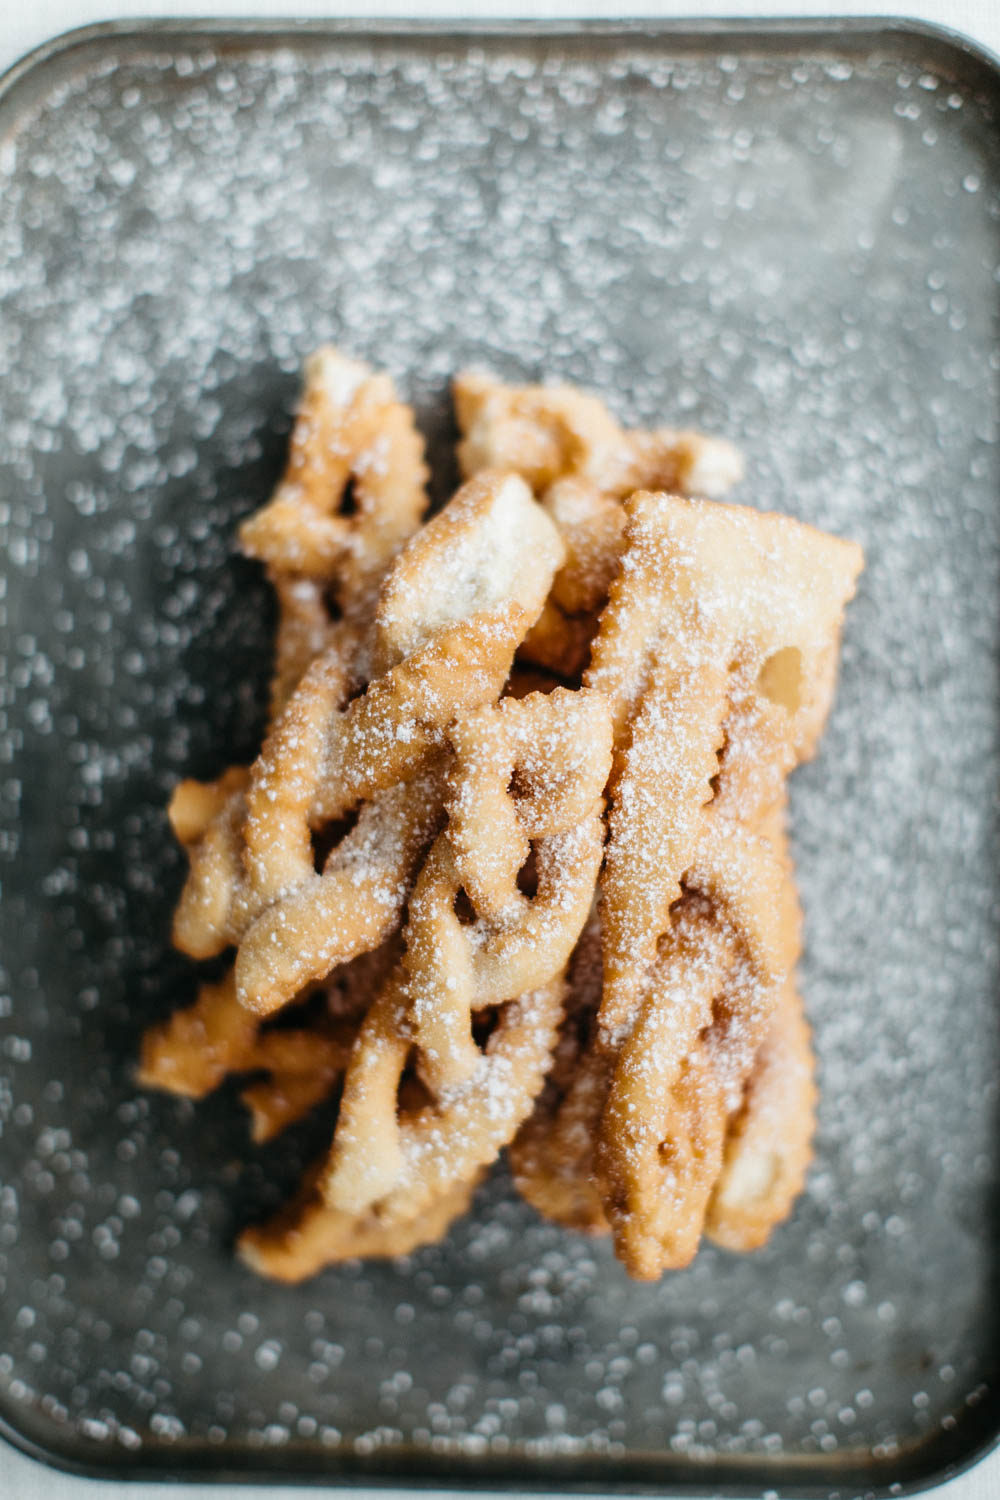
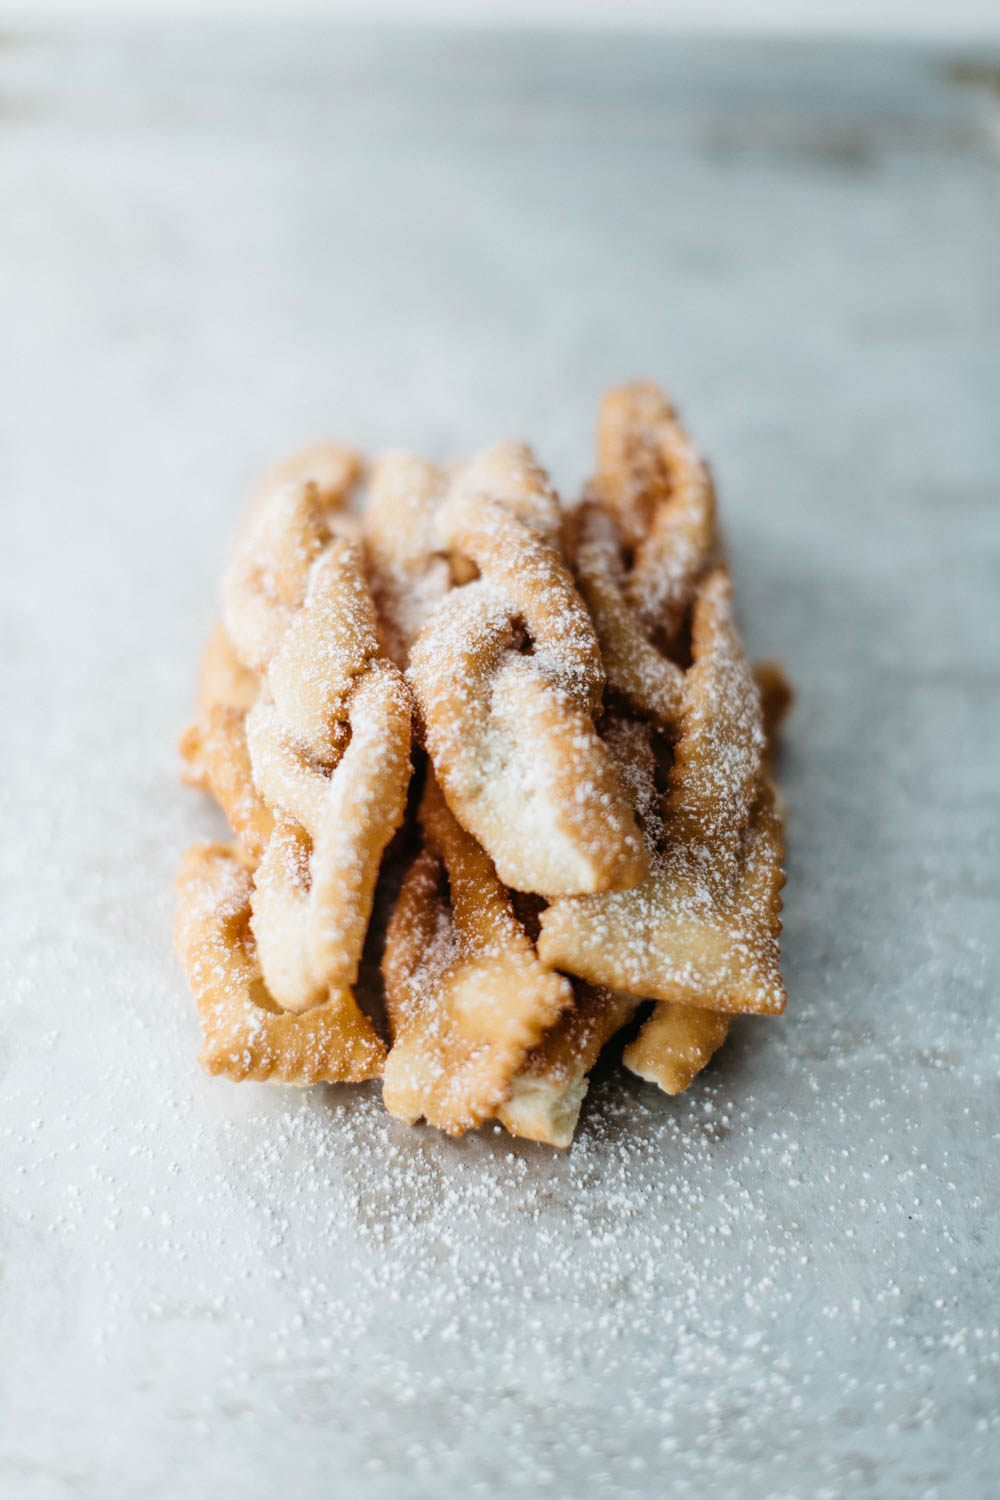
I can’t remember a day in my childhood we did not have a container of these in the pantry. I can’t even remember how often Mum would make them, but when she did, she made lots. Enough to give some away to friends and family, and plenty to store in the white recycled containers she used just for storing the Nacatole, I couldn’t tell you what was in them before. Some kind of bulk food item, maybe nuts, or beans, but as frugal as she always has been, those containers were kept and reused for decades. In fact, I am sure they’re still in her pantry today. Sometimes the Nacatole were months old, but it didn’t matter, they were always crisp, sugary and addictive (Mum says they last forever). Strips of sweet dough, infused with vanilla and scented with lemon, plaited and deep fried, then sprinkled generously with sugar while hot which clings to the crispy exterior for a sweet crunchy kick. Sometimes they were doused in icing sugar, but that disappears as it sweats and dissolves into the dough, so Mum always preferred granulated sugar for lengthy storage times.

The fact that Nacatole store so well is probably one of the reasons they are such a treasured treat. You can make a large amount in batches, storing as you go until you have enough to feed an army (or an Italian get together – same same). In fact, at my own mother’s wedding she has told me she recalls my Nonna spending months making bulk quantities of Nacatole to serve the guests with coffee. She remembers large boxes filled with Nacatole stored in the lead up to the event, which was a huge affair, the whole town attended. There would have been thousands of these made, with my Nonna and her family, friends and daughters working together in a production line to cut, shape and fry the dough. And that is the best way to make these, with an extra pair of hands. Of course, you can make these on your own, but typically this is the kind of treat you make alongside someone else, a family member or friend, where one can cut and shape the dough while the other fries, in a peaceful rhythm that encourages chatter, laughter, and relaxation. That’s how I remember these being made in my mother’s kitchen, with one or more of her sisters around to help, and the gossip that came along with the process.

It’s difficult to describe what makes these so special, apart from the memories they evoke personally for me, but anyone that eats them will tell you they are strangely addictive, and it is difficult to stop with just one. Like many Italian recipes that has been passed down through the years, there are no fancy ingredients; flour, sugar, eggs, vanilla and lemon zest, yet when I wanted to replicate them it wasn’t so easy. Nonna, who never wrote a recipe in her life, would never have measured anything, it all would have been by eye, and she was incredibly secretive about her recipes. Mum wrote the recipe down for me, how she remembers cooking them with her mother, with a little more information, but not much more help to be frank, with instructions such as “add as much flour as it needs’. But finally, with many to-and-fro conversations with my mother; “how do I know it has had enough flour?” when the dough feels right, “how should the dough feel?” not too soft, “how long do you cut the strips?” about a finger, “how thick do you knead the dough” not too thick, etc etc and lots of experimentation I now have a recipe that works, and tastes just like those Nacatole that were as much a part of my childhood as was my obsession of coke spiders ( that’s another story), and I am proud to share it, because it would be such a shame if they were just a memory of the past. Now they can be a part of my (and I hope your) future.
I have condensed Mum’s original recipe to make a mere 25 Nacatole, which you can make in a jiffy. But, these were always made in much bigger batches (like I said, they last for ages) so feel free to double, triple or quadruple the recipe as you like.
Nacatole
Ingredients
1 1/4 cups self raising flour
1 1/4 cups plain flour
1/3 cups sugar
3 eggs
1/3 cup vegetable oil
1 tsp vanilla extract
finely grated rind of 1 medium lemon
Oil, extra, for frying (such as vegetable or rice bran oil)
1 cup granulated sugar
Method
Use an electric mixer or food processor to combine the self raising and plain flours, sugar, eggs, vegetable oil, vanilla and lemon rind. You can do this by hand if you like, but an electric appliance makes the job faster.
Remove the dough from the bowl and knead for 5 minutes or so, until smooth. Depending on the weather, sometimes you need a little extra flour (this is where Mum’s recipe of ‘add as much flour as it needs’ comes in). If the dough is sticky dust a little extra plain flour onto the bench and knead it into the dough. It should be smooth and supple, but not tacky.
Cover with cling-wrap and set aside to rest for 30 minutes.
Cut the dough into 4 pieces. Work with one piece at a time, keeping the rest covered to avoid the dough drying out.
Dust the dough with a little plain flour and using a pasta machine, roll through the first (widest) setting once, then fold the dough in half and roll through again. Use common sense here, if the dough feels sticky, dust with a little flour. This is just like making pasta. Just like pasta dough, you can roll this by hand with a rolling pin if you don’t own a pasta machine (but I suggest you go buy one – they are very inexpensive and you can do a lot more with them than roll our pasta dough).
Now turn the pasta machine’s setting to the second widest and roll the dough through again, turn it to the next setting and roll through again, then finally on the 4th setting. You will now have a long silky piece of dough.
Place the sheet of dough onto a lightly floured surface, and use a pastry wheel (or a knife will work, but you won’t get the pretty fluted edges) to cut the sheet into long, roughly 1cm wide strips. Then cut across to make roughly 15cm lengths. Don’t get the ruler out, they don’t have to be exact.
Now that you have your strips of dough, pick up three at a time and join them together at one end, pressing down to make them stick together. Plait the loose ends and then secure together at the end. Repeat until all Nacatole are formed (or if you are doing this with help, one can start frying while the other keeps shaping).
Half fill a large pot with oil and heat until it reaches 170 C. If you don’t have a thermometer, just throw in a little scrap of dough. If it starts to sizzle the oil is ready.
Working in batches, fry a few Nacatole at a time, turning every now and then until golden. They don’t take long to cook, so this job needs 100% focus. Once golden, transfer immediately to a bed of paper towels and dust with sugar.
Allow to cool, then once you’ve eaten a few (you can’t resist), store in an airtight container. I would like to say they store well for 3 months, but like I said before, Mum says they last forever. In any case, if they last longer than 3 months I’d be surprised.
Extract from Liliana’s book : Easy Home Cooking Italian Style


Thank you for such a wonderfully written article Liliana. I was searching for a recipe for Nacatole. It’s been 2 years since my mum passed away. Not only do i miss her greatly, but I miss the taste of Nacatole and all the good things that came with them . Happy memories. She would make them for special occasions. Christmas, Easter, etc, for me on request, for my children. There was always a fresh batch . They were the taste of my mother’s heart. Sadly she never left a recipe. Thank you for giving me this beautiful recipe and the wonderful memories . I am going to attempt to make my first batch next weekend.
Rocco ( Rocky )
Perth, Western Australia
Hi Rocky
Thanks so much for your message. I grew up eating these too, and like you, remind me of my Nonna. I can’t even imagine how many she made over the years, but there was always a container full in the pantry. This recipe was saved thanks to my Mum, who learned from her. It is so sad when those recipes disappear, I hope my recipe continues in your family and reminds you of your Nonna for years to come. Let me know how they go!
Is there any way to bake these instead of deep frying. My mother used to make these also and it was a ‘by eye’ recipe. Just looking for a healthier version.
Hi Mima
I don’t think so – although I haven’t tried an air-fryer and they say you can fry anything in those (I don’t own one so can’t trial sorry). I don’t honestly think they are too oily, they crisp up very quickly and the dough doesn’t soak up any oil. I always drain them well. But, yes, they are fried so not overly healthy – but I can’t imagine how they would get that crispy texture without the oil. Sorry.