OK, that might be a pretty big statement, but this gingerbread recipe really is the best. Seriously. It is ridiculously easy to make, works every single time and delivers deliciously gingery biscuits guaranteed. This recipe is very dear to my heart, I have been making it for as long as I can remember (and I make biscuits with this dough all through the year), and is especially special because it is the foundation to our family gingerbread house.
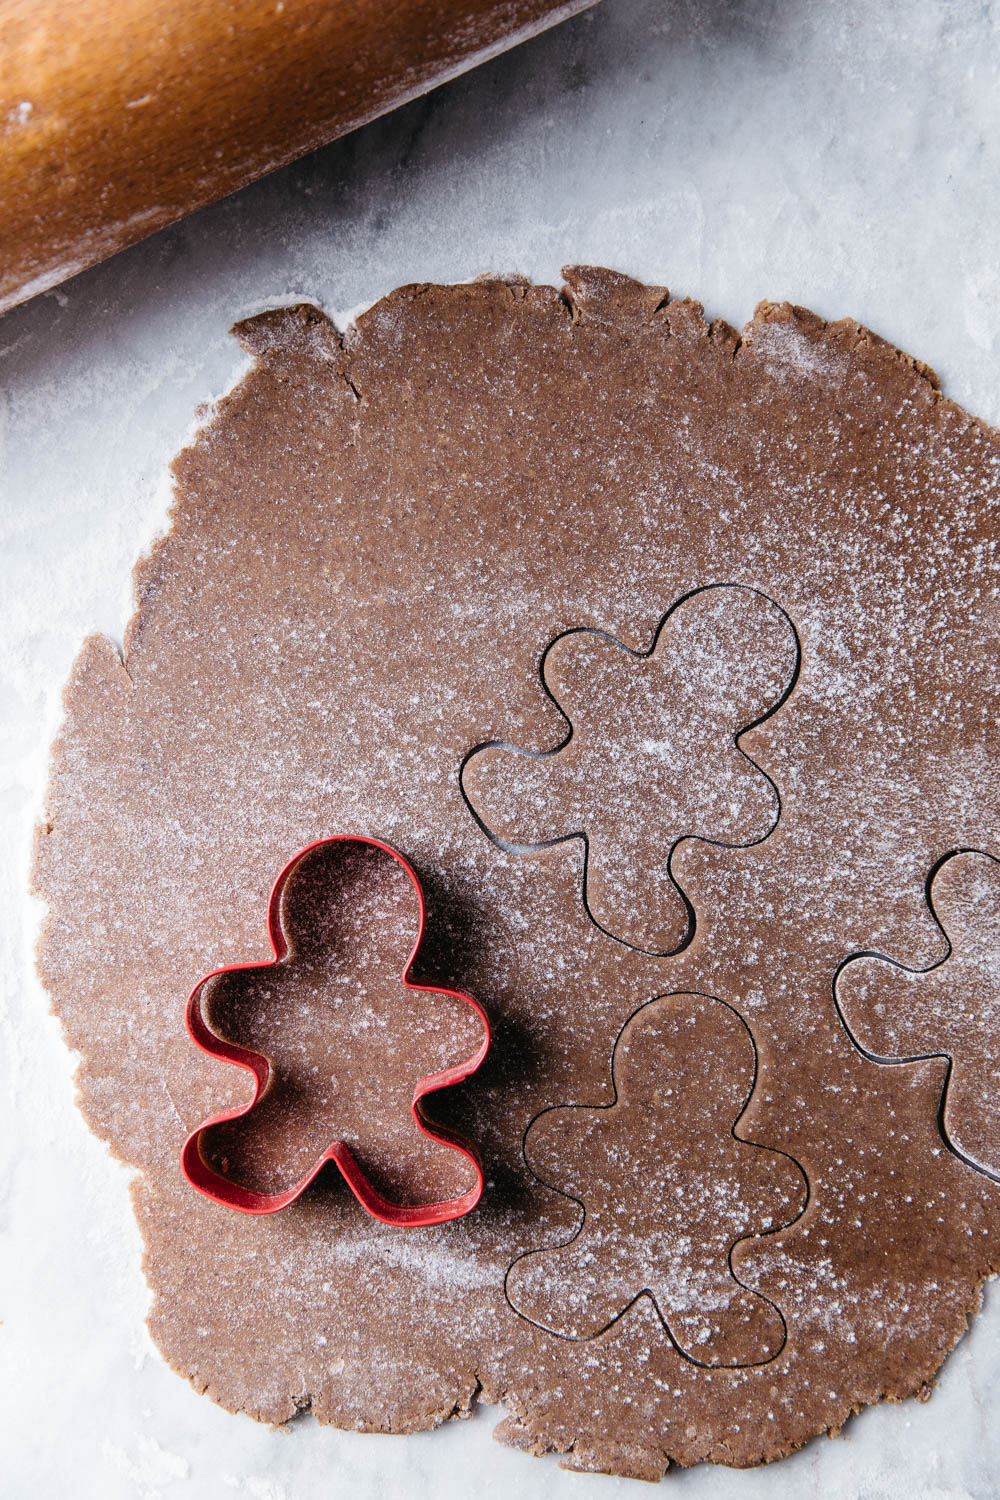
From when my boys were young, we have ritually constructed some kind of Christmas gingerbread creation every year. It started off pretty small, a little A-frame picture of quaintness that each year got more and more out of hand, progressing from something synonymous with Hansel and Gretal to something more like Pan’s Labyrinth on crack. It was as much fun coming up with a design as it was the actual construction. Hang on, my memory just handed me a flashback of a few certain designs that didn’t quite come together that easily on the engineering front (especially that medieval castle someone came up with that required over 80 individual pieces to be made…try getting all that to hold together with royal icing on a hot day!).
Yes, there were some doozies, and I must admit that having boys adds to the unusual flair of the characters (some of which ended up lying in pools of red icing, licorice knives applied to stomachs, decapitated or disembowelled, or strange monsters and villains, or creepy looking faces with one blood-shot eye or extra-long tongue), but I like to give free reign. Yes, I am one of those mothers who doesn’t really care about Christmas perfection. Our Christmas tree always appeared to be decorated by the Tazmanian Devil, a regurgitation of Christmas ornaments made from each primary school year (including one odd reindeer with a Chuppa-Chup nose that graced the tree for 18 years). I don’t really get that whole colour-theme perfection… I mean, what’s the point? My house isn’t Myers or David jones. So when it came to the gingerbread house I must admit to getting all hippy and giving the boys complete freedom. This not only meant a big mess, but some of the little ginger-guys looking a bit odd, sometimes a little off, and as the boys got older… well, let’s say bits got added to add adult comical effect… ok , let’s move on…
Back to the recipe… like I said, this dough is a cinch to make. You just throw everything into a food processor, turn on and voila. I assume most people have a food processor these days, but if you don’t you can go all Country Women’s Association and use the ‘rub in’ method. If you don’t own a processor I assume you know what ‘rub in method’ is. If not…google it (or buy a food processor!).
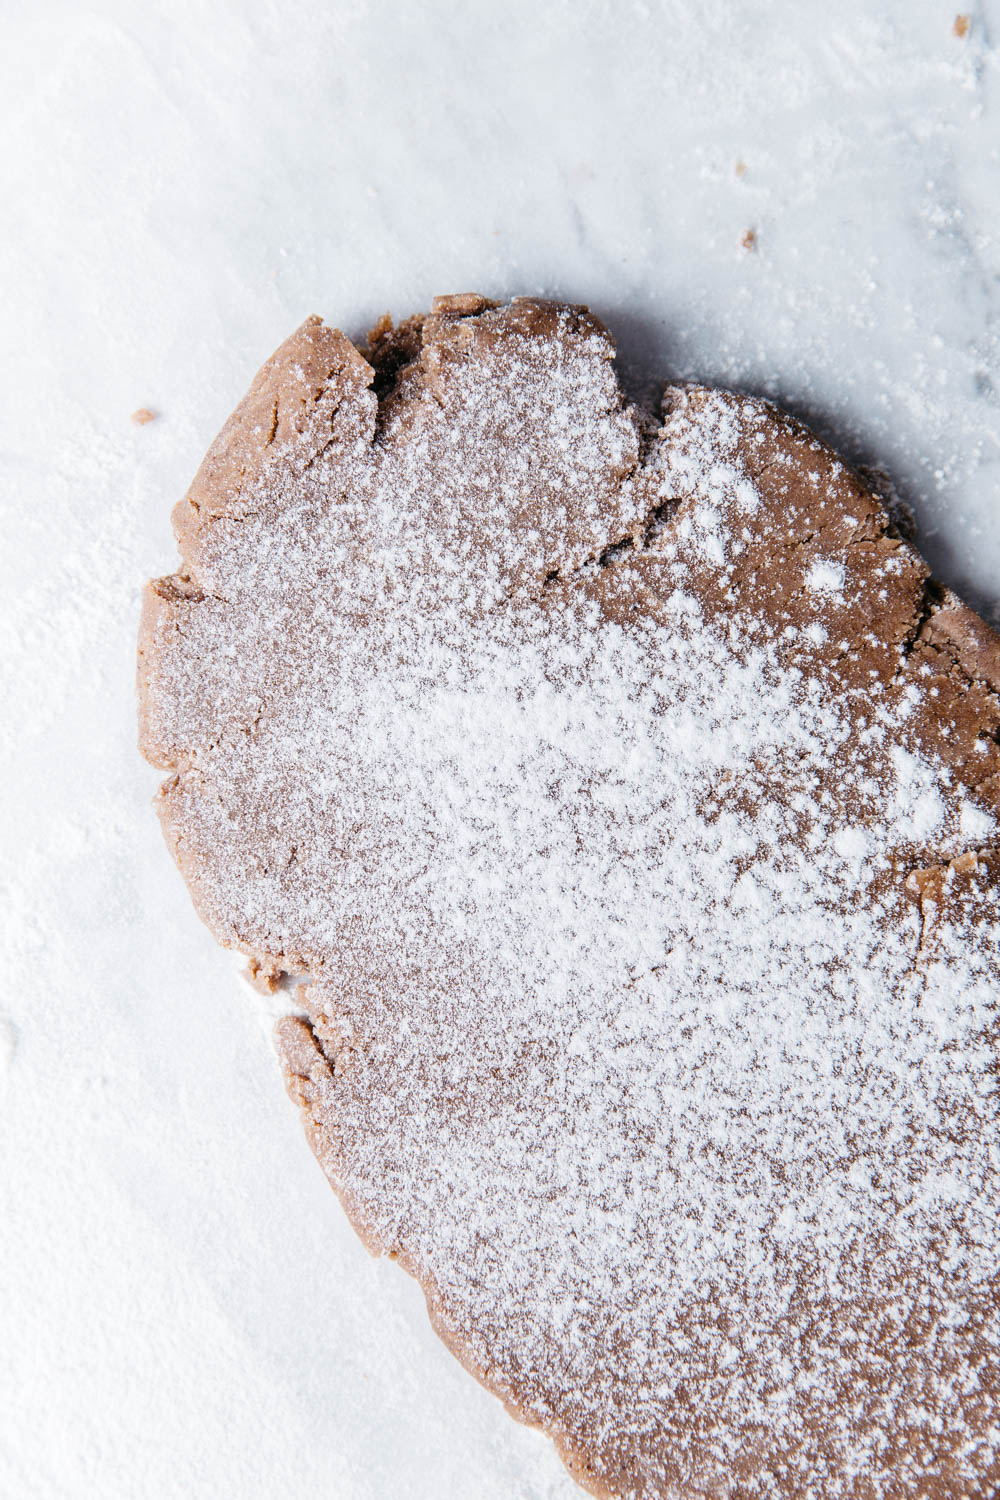
Once the dough has formed, you wrap in clingfilm, allow to cool in the fridge, then you’re good to go. This recipe makes around 16 or so gingerbread men/women/transgender/I can’t believe I just typed that (depending on the size of your cutter). If you want to try making a gingerbread house there are plenty of templates available on the internet, so just google one you like and print it off. Depending on the design, you just double, triple or quadruple (as in my case that year we made that bloody monstrosity that was a replica of the entire street and was carried into the cul-de-sac for the neighbour-hood kids to smash to oblivion in ten seconds flat… yes, that’s the other thing about building these creations…hours and hours to build, seconds to smash…and the dog has the time of its life hoovering up all the sugary treats he can muster). You place the cut out printed template onto the rolled out dough, cut around the template, then lift onto a baking tray and cook. I like to do all the baking one day, seal in an airtight container, then build on day two, or three or four…or after someone has bought me some wine.

Royal icing is the cement of choice, which you can make yourself, or be lazy like me and buy from the supermarket (seriously, after all that baking the last thing I ever want to do is make royal icing when I can buy it for a few bucks rather than bother with whipping up egg-whites). Don’t even think about using normal water/icing sugar out of the packet mix here unless you want to stand holding the walls of the sugary house together for 24 hours or so while it takes its sorry-arse time dry (been there!). You need strong stuff here, and royal icing is like concrete. If I am putting you off here, sorry, I really don’t mean to. But it’s kinda like having a baby, lovely memories and so worth all the effort, but the actual pushing out bit, not always quite so joyful. Just whack on some loud Christmas music, tell yourself the best memories are often the messiest (in tantric style chanting if possible), and don’t tell the kids off if they eat more raw dough than you get to cook (because they will…THAT is a given… but don’t worry, my kids didn’t die of salmonella so neither will yours). Just relax, It’s Christmas. And remember, there’s always wine…
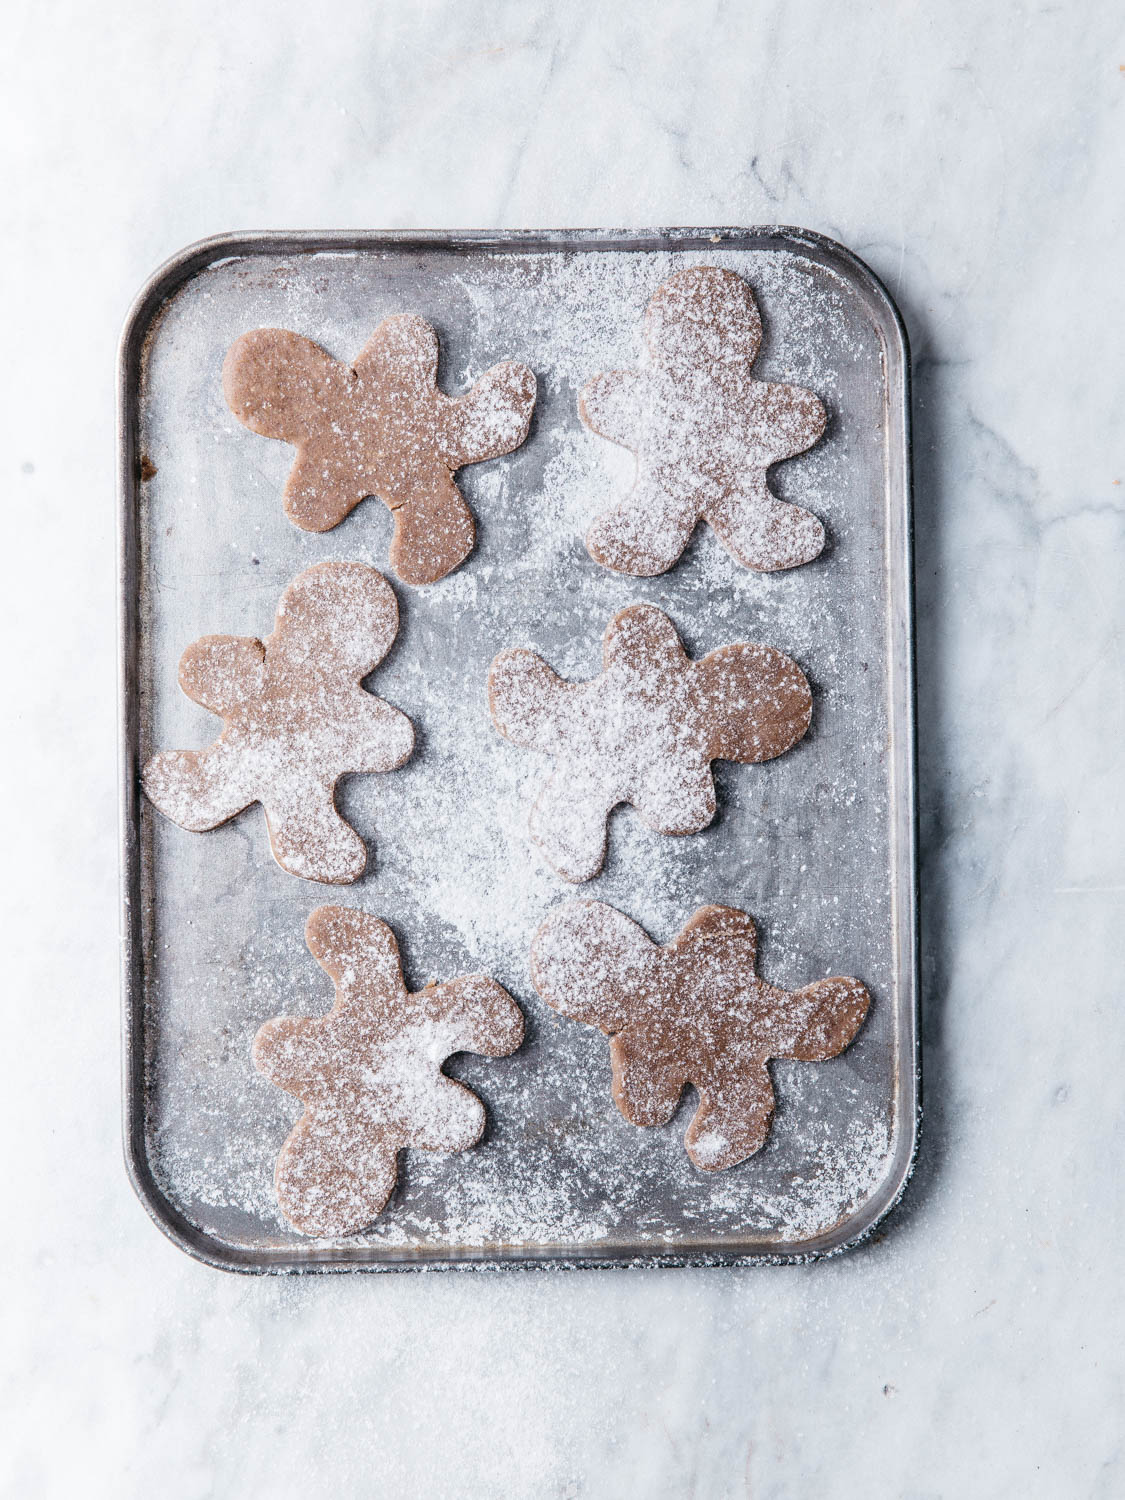
You don’t have to make a gingerbread house with this dough – it is simply a suggestion, something I have done with my kids and am so glad I did (there’s that nervous twitch again..). In any case, make simple cookies at the very least. Everyone loves them, big or small, and mess or no mess, a gingerbread-walled masterpiece or simply a batch of cute biscuits, the house will smell like cinnamon, caramel and ginger which is enough to instill Christmas cheer into the Grinch himself.
Gingerbread
Ingredients
110g softened butter, chopped
3/4 cup brown sugar
1/3 cup golden syrup
1 egg
2 1/4 cups plain flour
1 tsp bicarbonate soda
1 tsp ground ginger
1 tsp ground cinnamon
Method
Put the butter and sugar into the bowl of a food processor and blitz until smooth and creamy. Add all the other ingredients and pulse until the dough starts to cling together.
Remove from the bowl and squish together with your hands to form a large lump of dough. Wrap in clingfilm and refrigerate for 30 minutes.
Preheat your oven to 200 C.
Dust a little plain flour onto a clean workbench and use a rolling pin to roll dough out to a thickness of around 5mm. If the dough is sticking to the rolling pin, just sprinkle with a little extra flour.
Cut desired shapes and place onto a lined baking tray, leaving a little room in-between each shape. Keep squelching the dough remnants back together and re-rolling to cut out as many shapes as possible.
Cook for 15 minutes, or until the edges are just starting to turn golden. Remove from the oven, allow to cool for 5 minutes and transfer to a wire rack to cool completely.
The biscuits can be eaten as is, or make a simple icing mixture (just add water to icing sugar until desired consistency, adding a few drops of food colouring if desired) and decorate as to your heart’s desire.
Store in a sealed container for up to one week (don’t worry, they won’t last that long).


Leave a Reply