I just received the first proof of my new book “The Sweet Life” a few days ago. It’s so exciting to see the words and pictures come to life. I am really happy with it and can’t wait to share it with you, out February 2018. It’s all about sweets, such as cakes, tarts, desserts, biscuits and all things delectable. Being my third book, it was incredibly difficult not to include all the special sweet recipes that I have already shared in my other cook books. It also got me thinking about what I want to include in my next book ( a constant work in progress). I find writing and sharing recipes so incredibly exciting and rewarding. Bringing to life the food from my family, some traditional, some tweaked, in exquisite photos that (hopefully) make you want to make them and share with your family is very special to me.
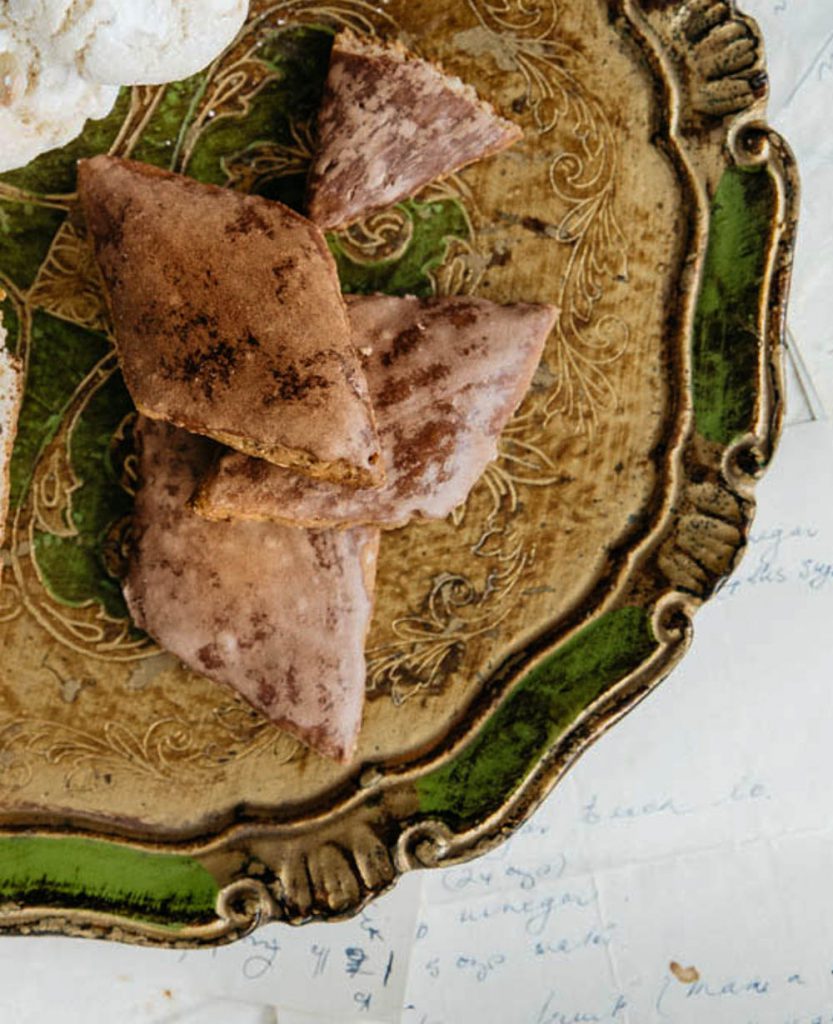
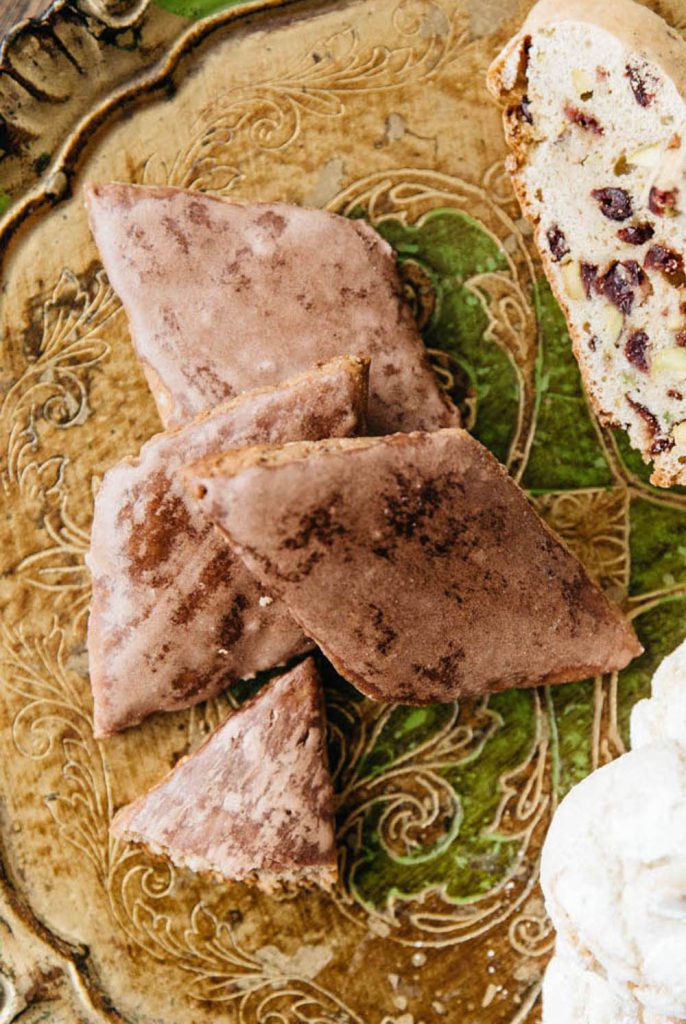
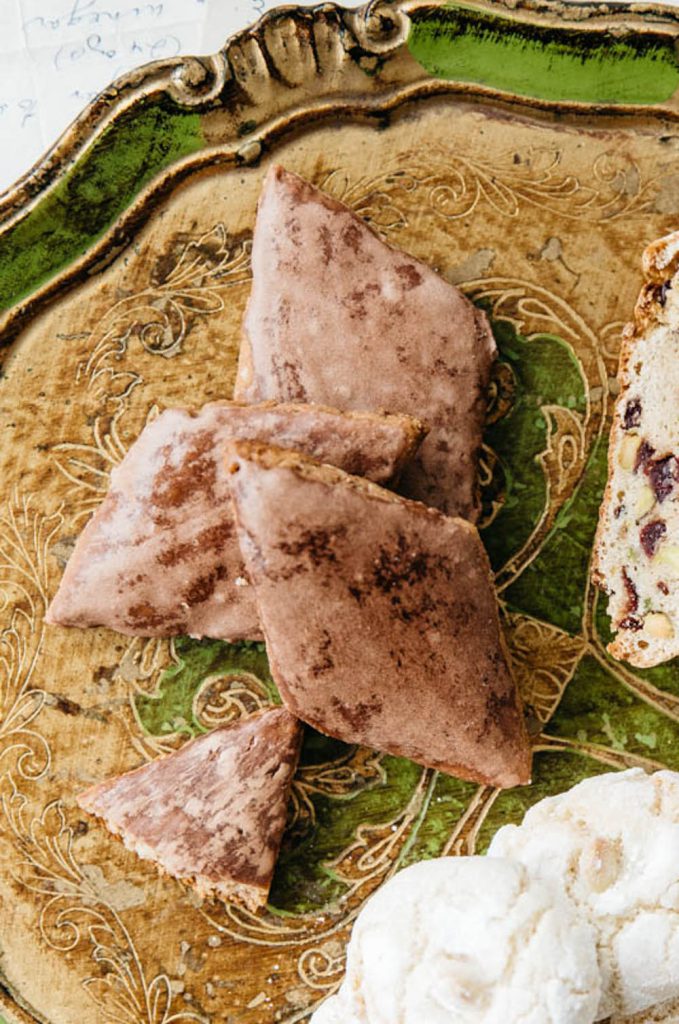
If I could pin point that one recipe that was the catalyst for making me want to write it down and share it would be this one. Pitti Pi. They are from my first cook book, Easy Home Cooking Italian Style, and was the first recipe I wrote when writing that book. I can undeniably say they are my favourite biscuits in the entire world. I know that’s a huge statement, and they don’t really look like much, but these chocolate little diamonds, heady with Christmassy spice, honey, citrus and almonds with that just-right chewy texture are the bee’s knees for me.
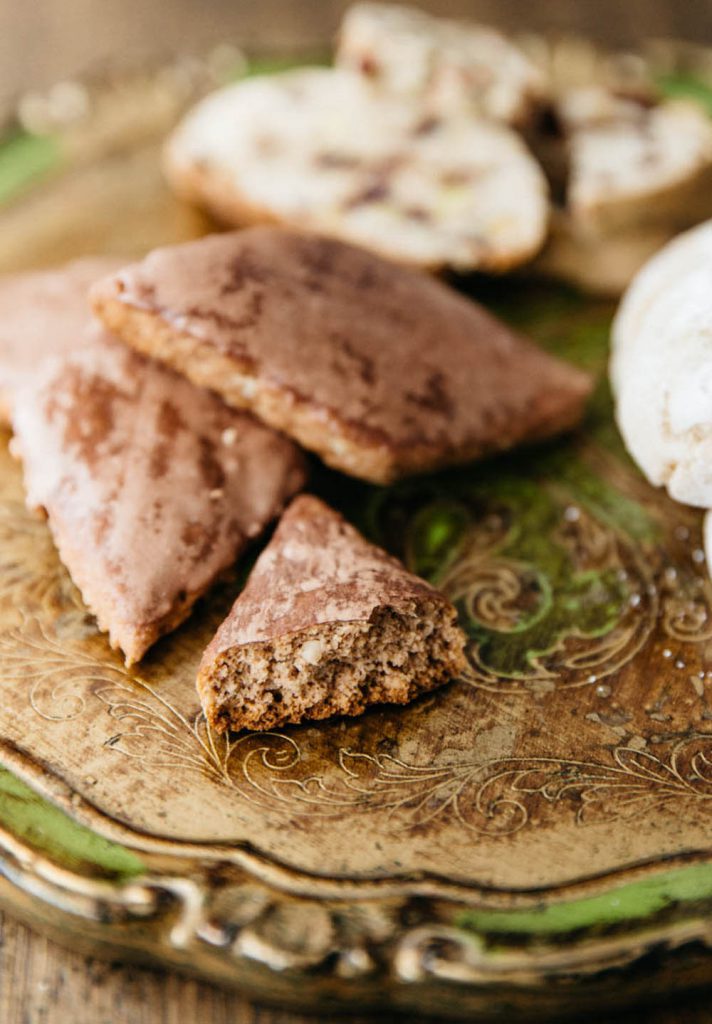
It’s not just how good they taste, it’s where these biscuits take me. Back to my childhood, that time of the year when Christmas is a whisper on the horizon. The build up of all the good things to come. It’s Nonna’s house, it’s my childhood home, it’s the family and friends who dropped by and the smell of coffee permeating the house as cups were filled and these Pitti Pi came out of the container as a sweet and welcoming offering.
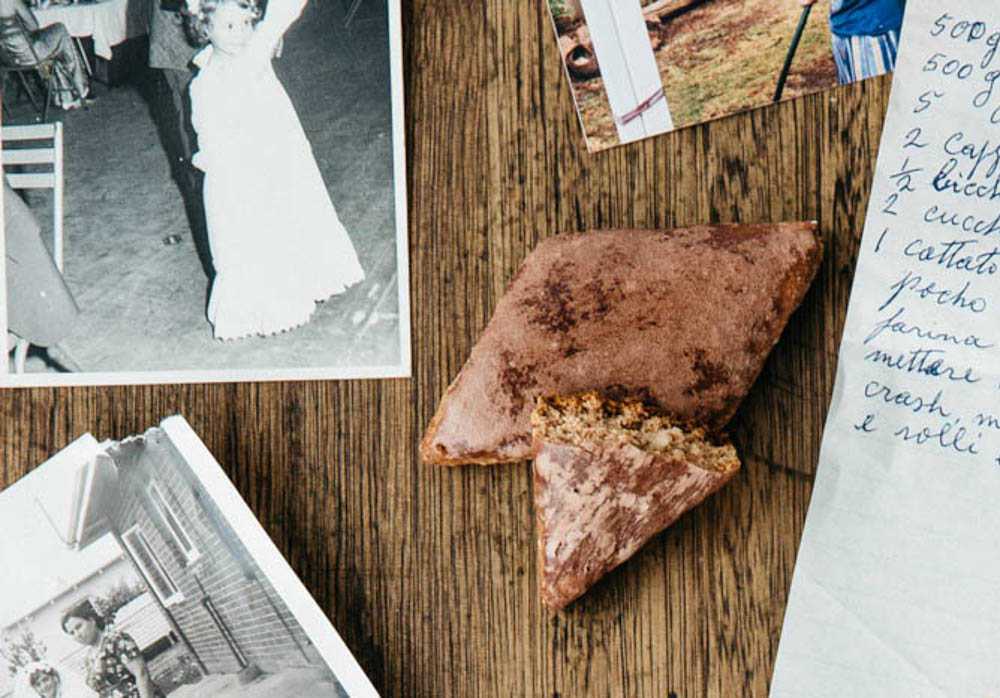
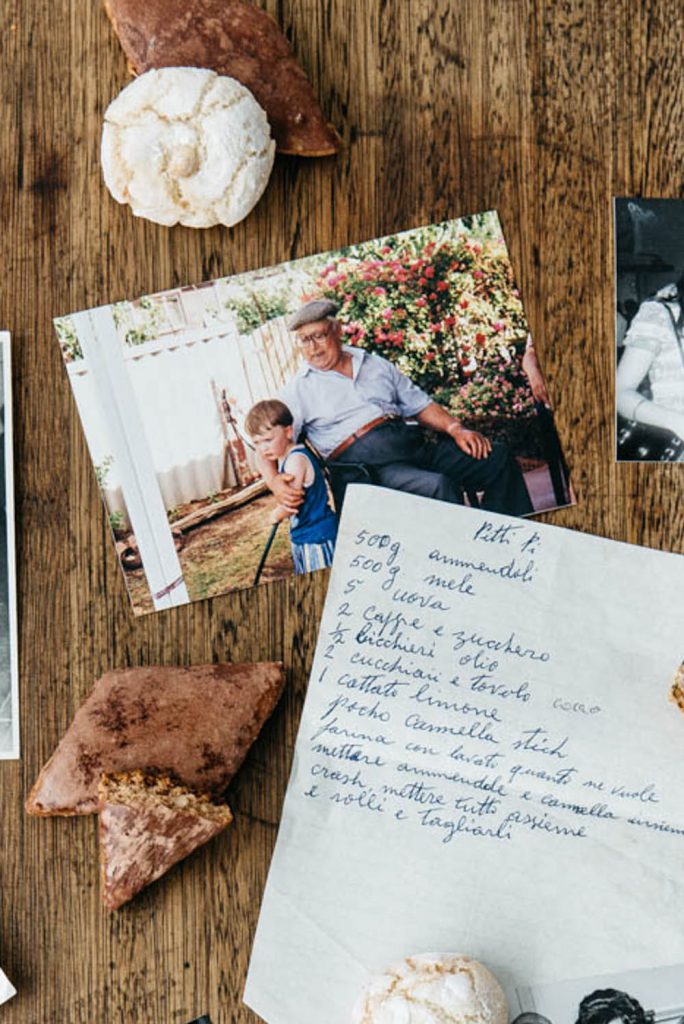
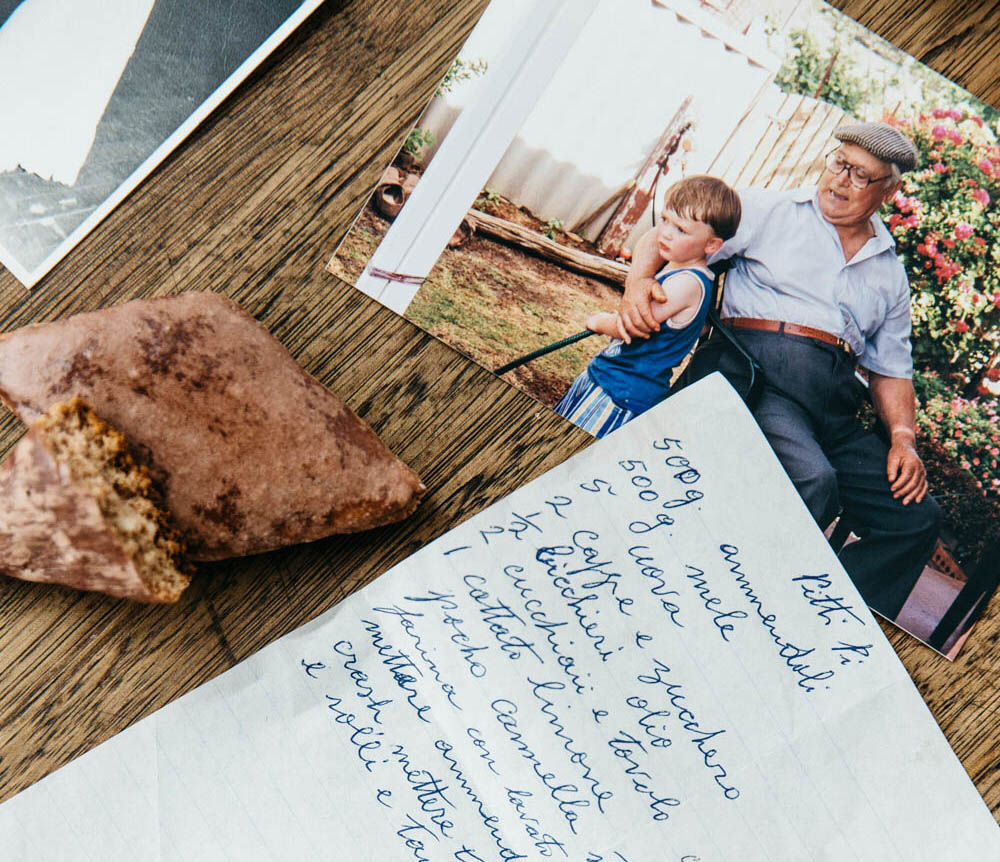
This recipe needed to be written down and shared, like many of Nonna’s recipes it was difficult to get exact quantities and it is important to me that these recipes aren’t lost, that we keep making them for generations to come. Nonna didn’t write down recipes (well actually it was Nonno who penned the recipes down for her).
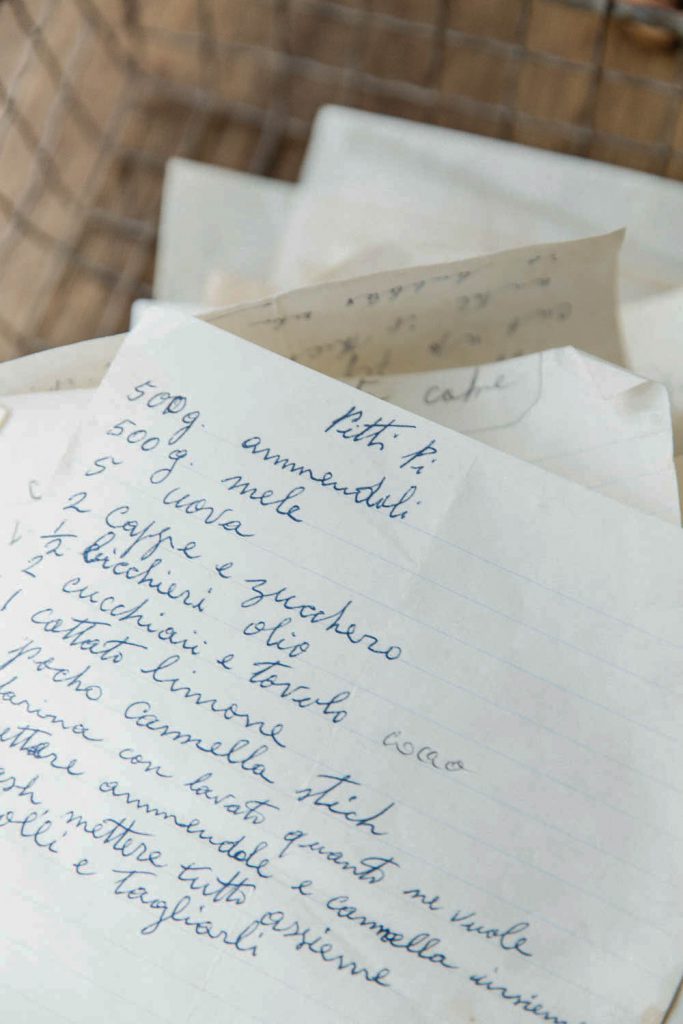
When there actually was a written recipe to refer to, it was common for the recipe to state ‘as much flour as it needs’ or ‘until it feels right’. When trying to replicate these old recipes, written in Italian no less, it was very difficult to decipher ‘how much’ of anything was needed. Thankfully my Mum is also an expert in making these, but as she also is not a believer in measuring anything, trialling and perfecting these biscuits became a challenge, but at least I could ask her what the dough should feel like. What it should look like. I have to admit she was off with many of the measurements to begin with – her notes ‘start with 1 cup of flour and go from there’ (it ended up being 6 times the amount) and that her recipe would make around 60 biscuits (more like 140!). It just goes to show, Italians just go with it, and are so in tune with their recipe they just add what it needs and it’ll be what it will be (mind you, perfect every time!).
After lots of testing this recipe is perfect, and even though I’ve halved it, it still makes 70. But please don’t try to make a smaller batch. This is easiest to make when you have this amount of dough to work with, and remember, like all old fashioned Italian biscuits, these last for months. Just keep in a sealed container, and when you have visitors, you too will have something delicious and home made ready to offer.
It is the perfect time of year to make these right now – I can smell Christmas coming! But don’t just save these for the festive season, they’re amazing any time.
- 250g roasted almonds,
- chopped
- 1 cup honey
- 3 eggs
- ¼ cup olive oil
- 1 cup sugar
- 1 tbsp cocoa
- Zest of 1 lemon
- Zest of 1 orange
- 2 tsp ground cinnamon
- 2 tsp ground clove
- 1¾ cups self-raising flour
- 1¾ cups plain flour
- Extra plain flour, for dusting
- Icing:
- 2 cups sugar
- 2 tbsp cocoa powder
- 1 cup water
- 1 cup icing sugar
- Mix everything except the flour in a very large bowl.
- Add the flour and fold through with a wooden spoon, as the mixture thickens your hands
- are the best utensils to get this job done. Fold up and over until you
- have a slightly sticky and thick dough.
- Cover with cling film and refrigerate for 30 minutes.
- Preheat the oven to 180°C and line 2 oven trays with baking
- paper.
- Dust a clean surface with a little flour. Cut off around 2 cups worth of dough
- at a time and roll into an oblong shape around 1½ cm thick. Trim the edges and cut diagonally at 5cm intervals one way, and then the other to make diamond shape biscuits.
- Place onto prepared oven trays allowing 2cm gap in between for spreading
- and bake for 15 minutes or until slightly golden. Remove and set aside
- on wire racks to cool. Repeat with all the dough.
- Make the icing. Put all the ingredients into a saucepan over medium
- heat. Stir to dissolve the sugar, then bring to the boil. Reduce heat and
- simmer, uncovered, for 10 minutes or until it is reduced by half.
- Working quickly, brush the hot icing mixture onto the biscuits,
- painting back and forth with a pastry brush, covering the tops
- completely. You will have more icing than you need, but I find that
- making a smaller amount leads to the mixture seizing. If this happens
- just add a tbsp of water, put back on a low heat and stir until smooth
- again.
- Leave to dry for one hour, or until completely set. Once dry, the icing
- has a marbled effect. Store in an airtight container.


Leave a Reply